
Step 2: Once you’ve completed your document and are ready to print, click File in the top left-hand corner of your document.

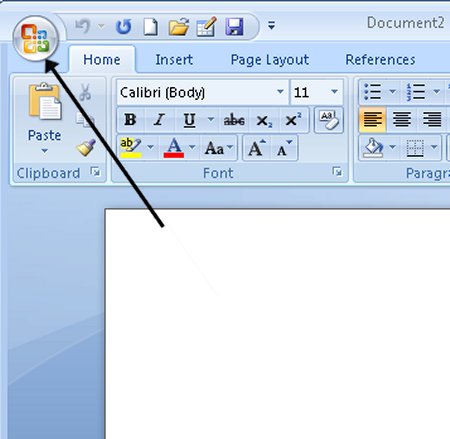
Alternatively, some versions of Word may have an Office button instead of a ‘File’ button – it’s a round Office icon in the top left-hand corner of the screen. Click on this if you have one.
Step 3: Move down and click Print in the menu. This will bring up the ‘Print’ dialogue box.

Step 4: Choose how many copies of your document you need.

Step 5: Depending on your printer options, you can choose other printing features such as whether you want to print all pages or only certain pages. You can also change the orientation of the print from portrait to landscape and tell your computer and printer whether you’re printing on a certain size of paper. You’ll also see, on the right, a preview of your printed document will look like.

Step 6: When you’re happy with your settings, click Print. The document will now start printing on your printer.